1-800-355-2335 |
Mon-Fri: 7:30am - 4pm EST |
Contact Us
Read what people have to say about Hoover Fence
Our site has been mentioned in "Yahoo Internet Life". Also appeared on the "This Old House" Site ( Thanks Norm! ) and the Re/Max State Line Real Estate Site as THE ONLINE FENCE RESOURCE! Recently mentioned in publications "Today's Homeowner", "Field Trial Journal", "Fencer's Almanac", "Home Remodeling", "World 'Fence News", "Home Magazine", and "The New York Times" ! Also featured in our home town newspaper "The Villager". Check them out!
NOTE: All referrals and testimonials are unsolicited and unpaid. Full names and contact information for our customers has been withheld out of respect for their privacy. Please contact one of our representatives with any questions you may have.
Call 1-800-355-2335 or email
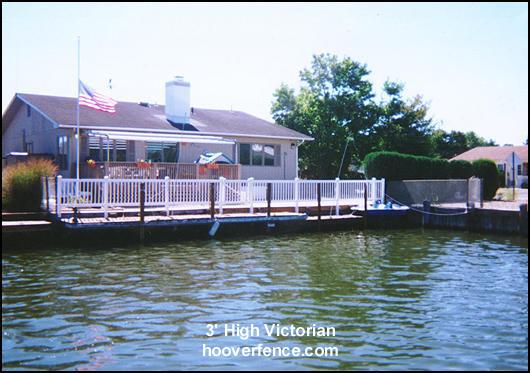
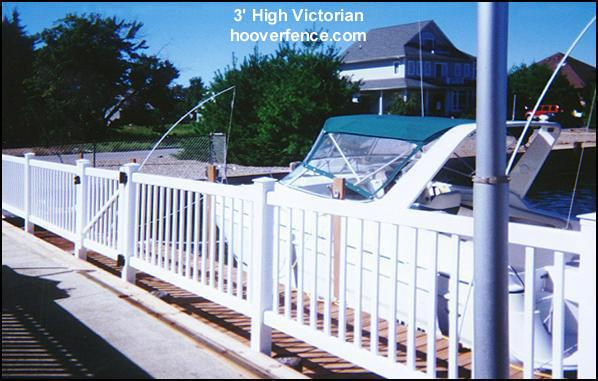
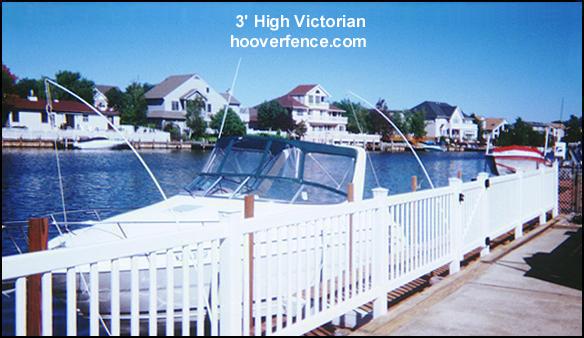
"Your fence looks great and your people were very friendly and helpful. I plan on doing more fence work on my yard and I will be using your company again."
George R., Toms River, NJ
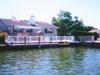


Editor's Comments: This is a great example of the 3' high Victorian style being used as a safety barrier. The section length of this style is 7-1/2'. These pictures show a perfect situation to be using a vinyl fence to hold up against the damp conditions next to water. Looks great! Thanks for the pictures and kind comments George! - Hoover Fence Co.
George R., Toms River, NJ
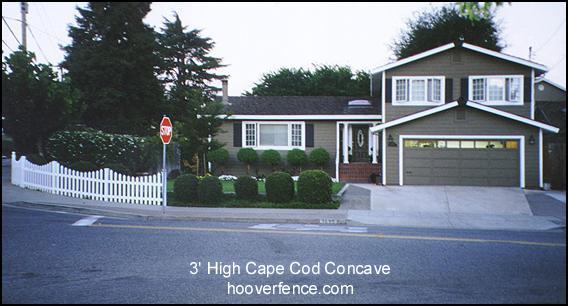
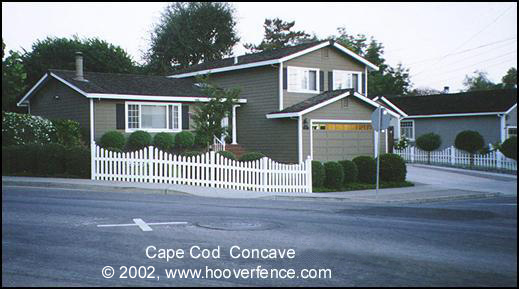
"The fencing was easy to work with and the appearance is stunning. We were surprised how wonderful it really looks. It sets off our corner as it curves and slopes down around the sidewalk. I will surely tell all my friends about this wonderful product.",
Sheila L., San Jose, CA


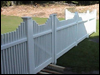
Editor's Comments: This is a great example of the 3' high Cape Cod Concave style being used to close off a corner lot. The section length of this style is 6'. These pictures illustrate the fence's ability to rake over a slope and curve to follow the layout of the property. Thanks for the kind comments Sheila! - Hoover Fence Co.
Sheila L., San Jose, CA
"The installation was very straight forward. Very satisfied with the quality of materials."
Don D., Bismarck, ND
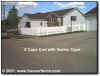
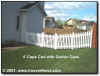
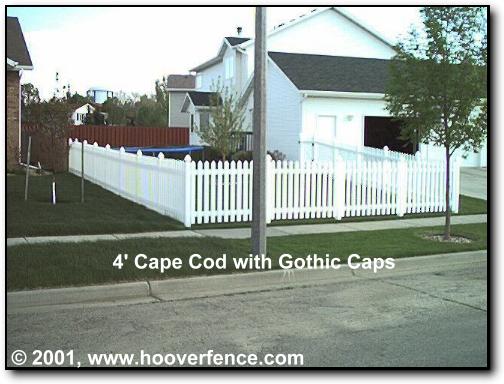
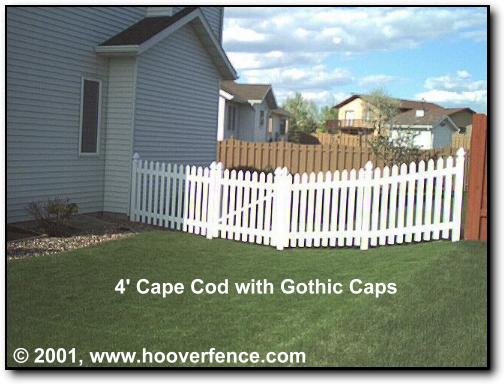
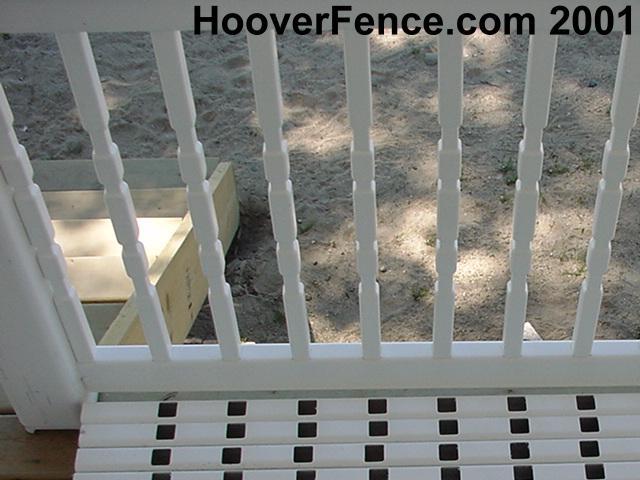
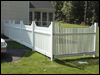
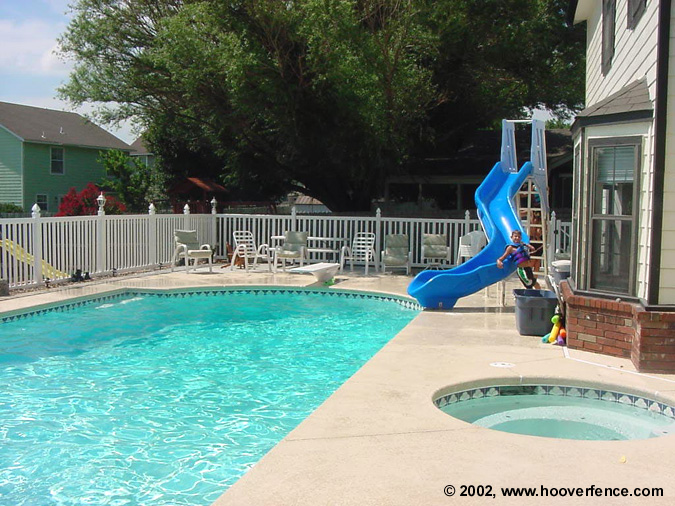
Editor's Comments: This is a great example of the 4' Cape Cod style being used as a pool barrier. The third picture from the left shows a good shot of a preassembled 50" gate. The section length of this style is 6'. These pictures illustrate the fence's ability to rake over a grade or slope in the yard. Thanks for the kind comments Don! - Hoover Fence Co.
Don D., Bismarck, ND

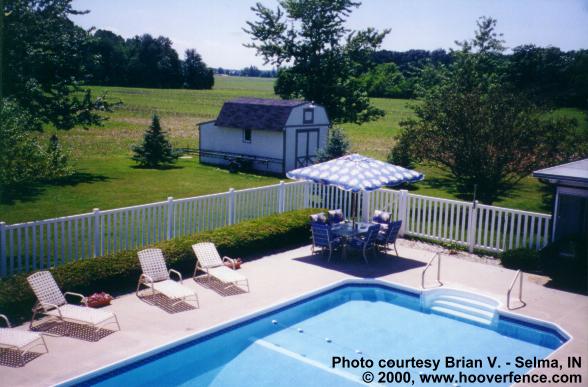
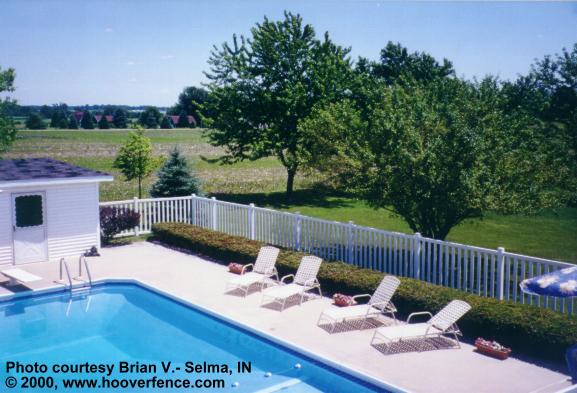
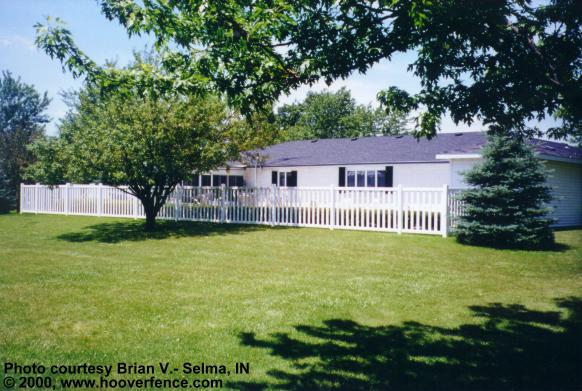
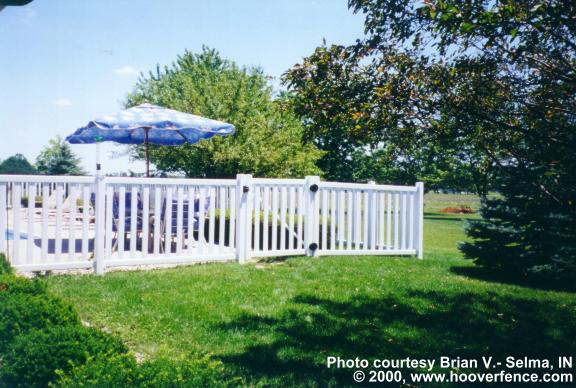
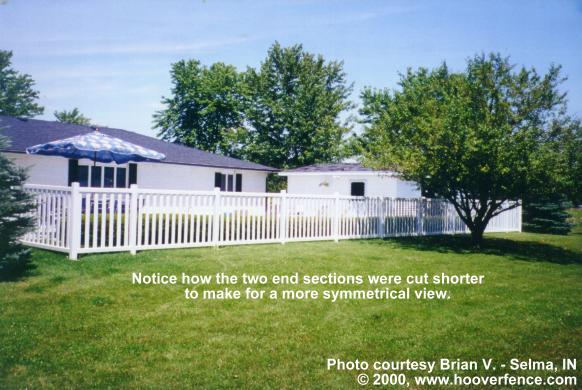
"The purchasing of the fence through the internet was convenient and easy. The installation info was easy to understand, and the fence was easy to install. Thank you for making my experience with you fun and easy."
Brian V., Selma IN


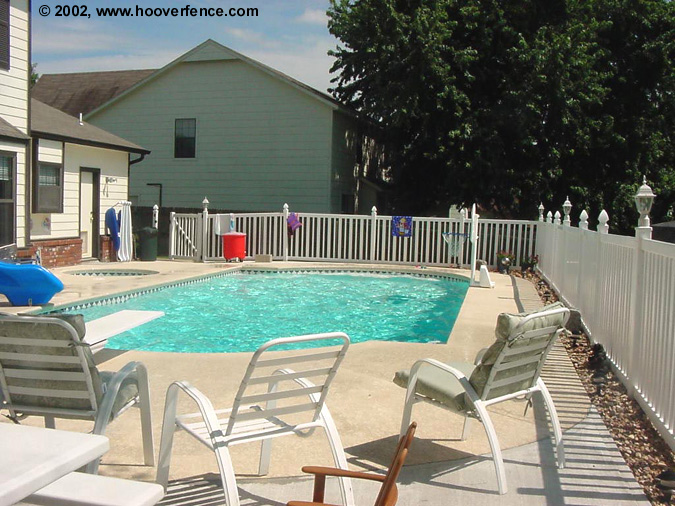
Editor's Comments: This is a great example of the 4' Baron style being used as a pool barrier. The fourth picture from the left shows a good shot of a preassembled 50" gate. The post spacing of this style is 7-1/2'. The customer's back line of fence had an extra few feet, so instead of just cutting down one section the customer decided to cut a little of both ends which is a much better choice because it gives the fence a more symmetrical appearance. Thanks for the kind comments Brian! - Hoover Fence Co.
Brian V., Selma IN
Thanks for the excellent service and tell Frank his drawing program is a great Internet tool and he deserves a big head for it.
Mike B.
(AKA: Mikey) ...


Mike B.
(AKA: Mikey) ...
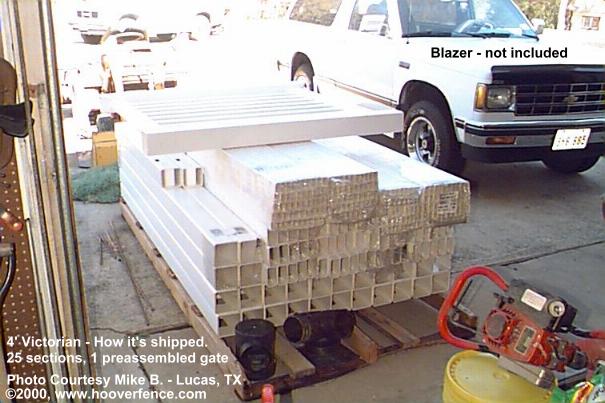
Part I - Receiving the product. Pictures and narrative of how the fence is packaged and shipped
Erik,
Picture of how the fence is packaged for shipping.Good news. My fence order was delivered today. I did like your instructions said and checked all of the boxes and material while it was still on the truck. I even had my digital camera ready to take pictures if something looked damage. Everything looked fine so me and my wife unloaded it with the drivers help (I told him he didn't have to help but he said only "union" drivers are that way and he helped us anyway). It took less than 10 minutes to unload it by hand. Lots of peices were shrink wrapper together and light enough for one person to carry so it was actually very easy. I was expecting it to be much harder and take longer.
After unloading and the driver had left I inventoried the material against the packing list. Everything on the packing list was accounted for and I ended up with 4 extra pair of rebar retaining clips because the gate hardware includes the clips for the gate post and I had also ordered them separately.
I will try to take some digital pictures when I build the fence and send some to you later. It looks like I won't be able to start the fence for at least a couple of more weeks because the pool deck probably won't be done until then and I don't want to take the chance of the fence being damaged while they are still building the pool and deck.
Thanks for the excellent service and tell Frank his drawing program is a great Internet tool and he deserves a big head for it.
Mike Brenner
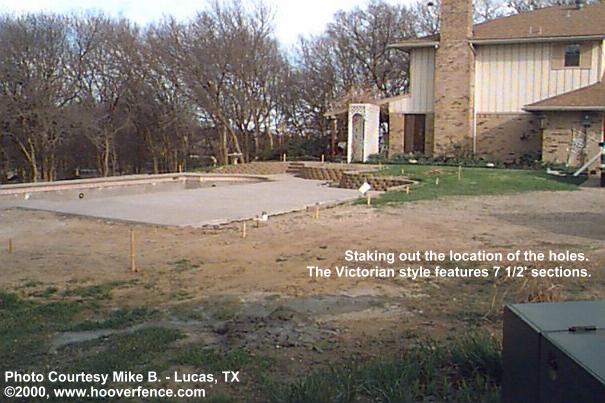
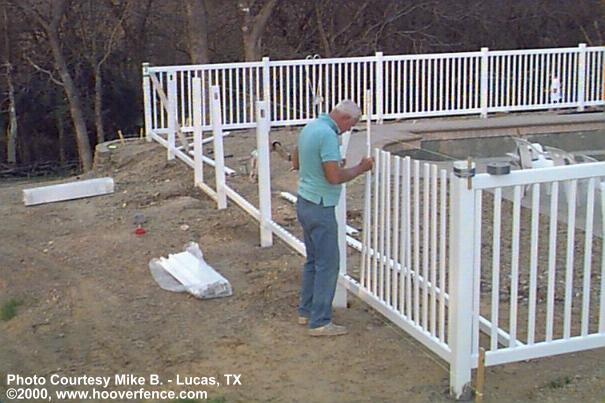
Part II - Staking the fence line and digging the first holes
Hi Frank!
Remember me? I bet you thought I forgot about you. Well, they finally got the pool to a point where I could start putting up the fence this week. It seems like it has been forever since I ordered and received the fence material from you. Anyway, here's what's happened this week and some pictures.
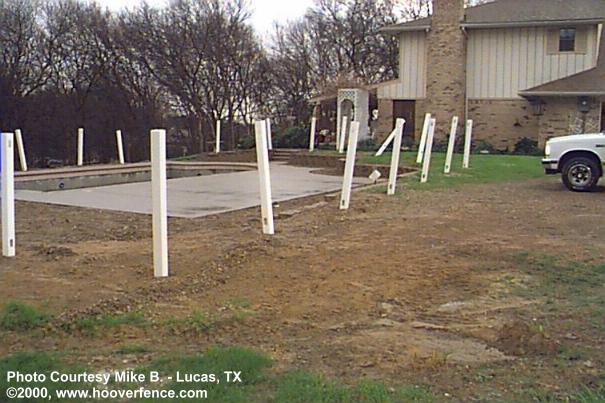
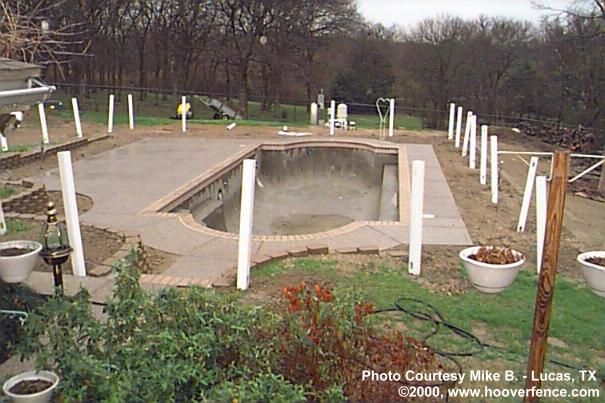
I started staking out the fence line and marking the post locations last Sunday. I dug my first line post hole without any problem. It went really quick and got me all excited. The post hole digger is real small (one person) and goes all the way into the ground to get the 30 inches depth. The second hole made it about 18 inches and hit the top of an abandoned septic tank. My excitement somewhat lessened at this point. Well, I decided I would cut that post short, make the hole wider, and run two 12 inch pieces of rebar vertically through the bottom of the post (like a cross: +) to give it extra support. It's a line post so I think this should be okay. The third hole made it about 12 inches and hit the top of a tree trunk from a tree we had taken out to make room for the pool. I lost all of my excitement at this point. I had several choice words that I used and then decided to stop digging any more post holes until I got through the stump. With the help of a neighbor and my wife, a double bladed axe, a drill with an 18" wood auger, and two electric chain saws, I was able to make a "square hole" through the stump large enough to get the post hole digger in and dug down the required 30 inches. I started smiling again. My dad came over and with his and my wife's help we have dug the remaining post holes in two days with just a few problems. We hit cliche rock along the driveway a couple of times and tree roots several times around the back of the pool where we had a bunch of trees taken out. I still have one hole on the back side with a root in the way that I want to get passed because it is a gate post and I want to be sure it has a strong base. You say on your Web site: "The hardest part to install vinyl fences is digging in mother earth and mixing the concrete". Well, I have thoroughly experienced the first part of this statement and am excitedly awaiting the second part. He, he!
We got rain this afternoon and I had to quit putting up the fence so I wrote you this note instead. Hopefully I can continue tomorrow. I'll take more pictures and send them to you as time allows.
Keep smiling, I am!
Mikey
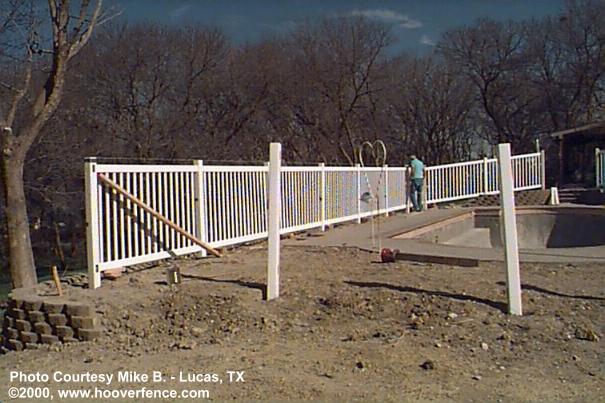
Part III - Installing the sections, leveling
Hi Frank (and the rest of the Hoover fence gang),
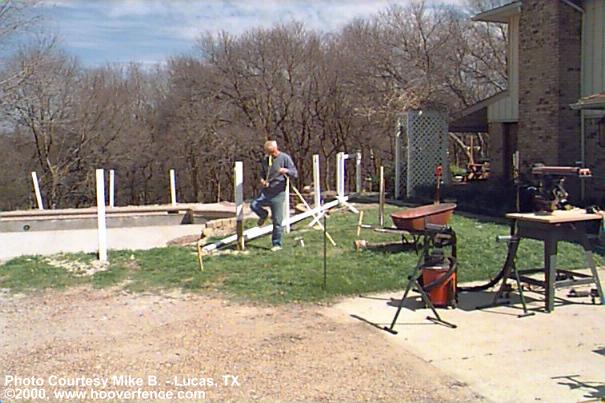
The fence is still progressing. Looks like it will be a three section job right now. We installed the first section over the weekend. We spent a lot of time learning how to level each section before we put down the concrete. It's a three way level (height, angle orientation (N,E,S,W), and vertical orientation (bubble center on two axis) so each post takes some time. We first leveled the height of all posts in the section by placing blocks and shims under the bottom rail with a string line across the top rail (each end/gate post was leveled in advance). Next, we leveled each post orientation with a string line stretched from outside corner to outside corner. For the vertical alignment we used a standard post hole double level as we concreted each post. We took extra time but the result is absolutely fantastic, straight and gently sloping with the land. The gate and end post were routed to compensate for the angle of the fence. We made a simple jig to maintaiin equal distance from each side as we routed the post. We forgot to route the top hole of one of the gate posts and had to "field" route it. The jig was very helpful here.
We start on section 2 tomorrow if it doesn't rain tonight. So far it looks good but anything can change over night, as you already well know.
Wish us luck,
Mikey
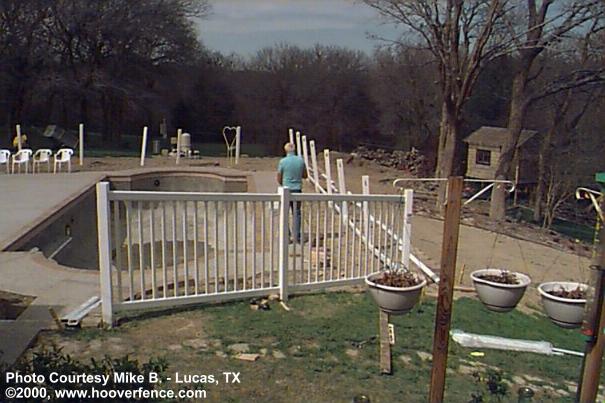
Part IV - Installing gates
Hi Frank (and the rest of the Hoover fence gang),
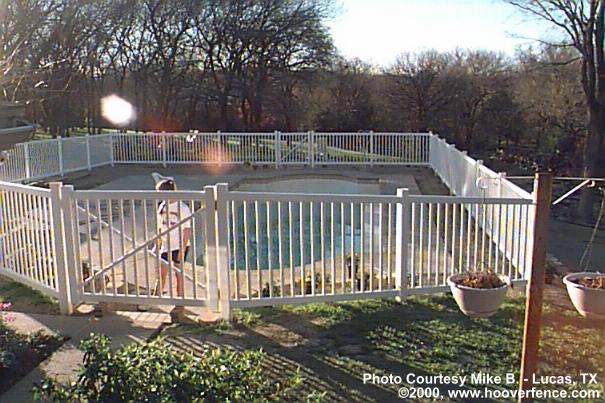
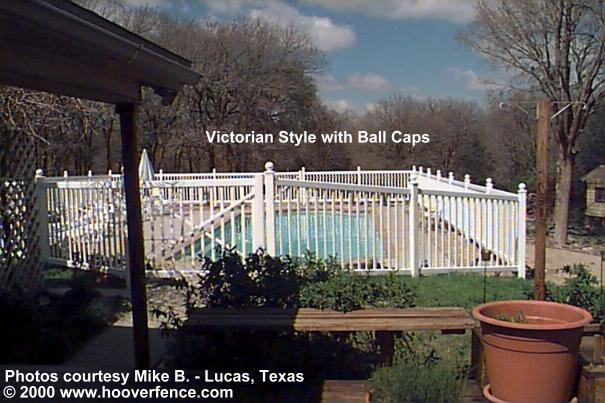
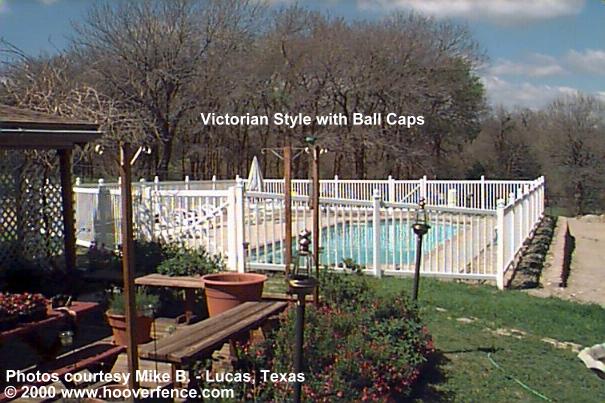
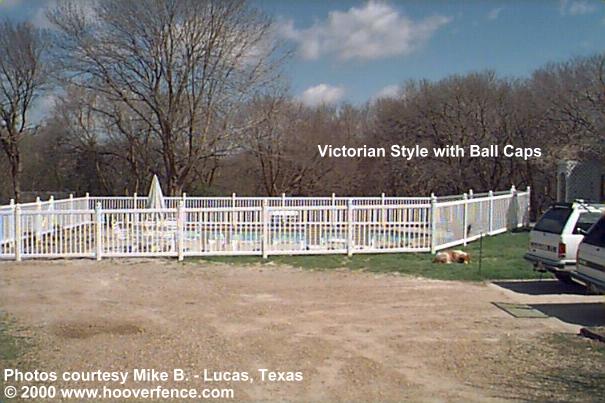
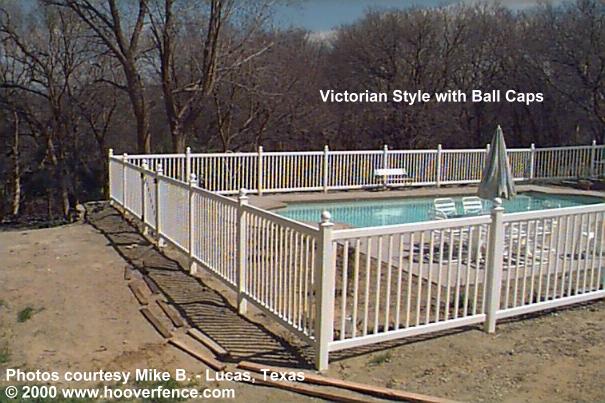
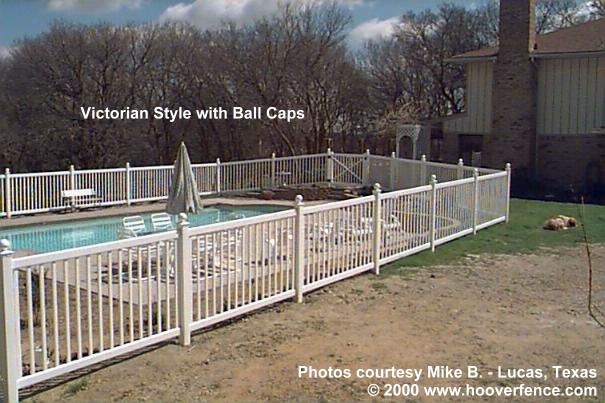
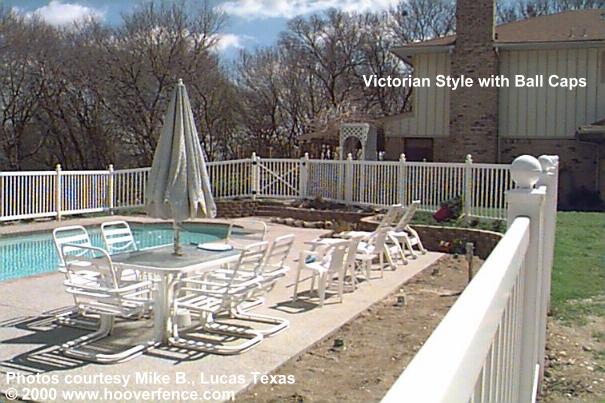
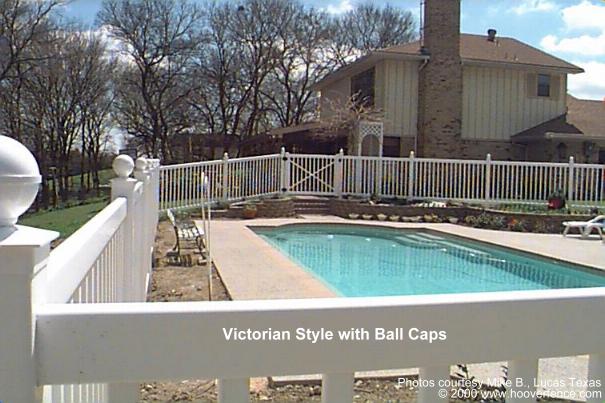
Well, it's almost done. All that's left is to fill the gate posts and end posts with concrete. We finished section 2 on Wednesday and section 3 yesterday. We custom built the gate closest to the house. It is almost 70 inches across. It rained again here today so I will have to wait until tomorrow to fill the posts with concrete. I will send you a couple of more pictures later next week after I install the "ball" post caps.
Keep smiling, I am!
Mikey
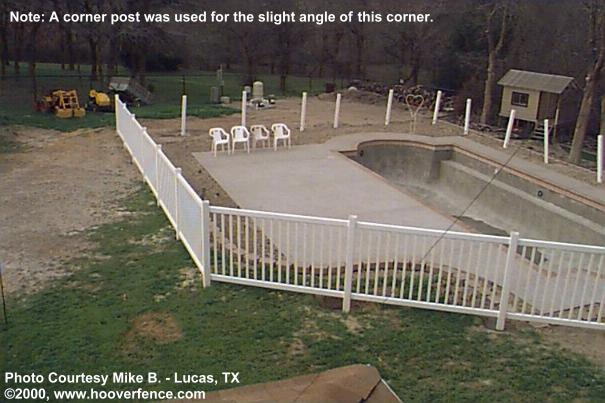
Part V - All done!
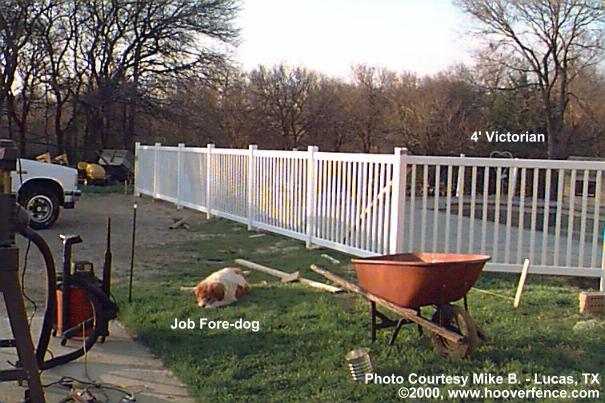
It's done! And it's beautiful! I get more comments about the fence than I do the pool. I guess I should have just put up the fence without the pool. I could have saved a lot of money. Also, I got your check for the pictures. That was not necessary but I appreciate the kind gesture anyway. I am including the final pictures of the fence and pool. You are welcome to use these or any of the prior pictures I have sent you anyway you like. I can also provide you with higher resolutions of any of these pictures that you want but they will be much larger files, at least twice as big or more. You are welcome to use me as a reference whenever you like.
Thanks for a good product and great service!
Mike Brenner (AKA: Mikey)
"I have included some pictures of rail & columns that I already installed. I am very pleased with the system.
Thank you!",
Sean P. of Warren, MI

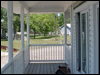
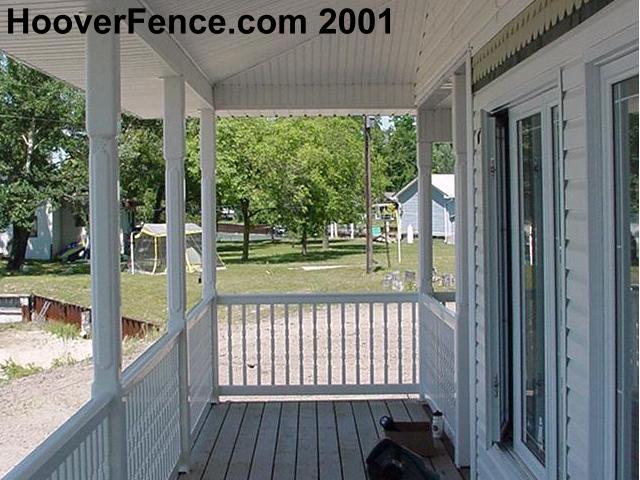
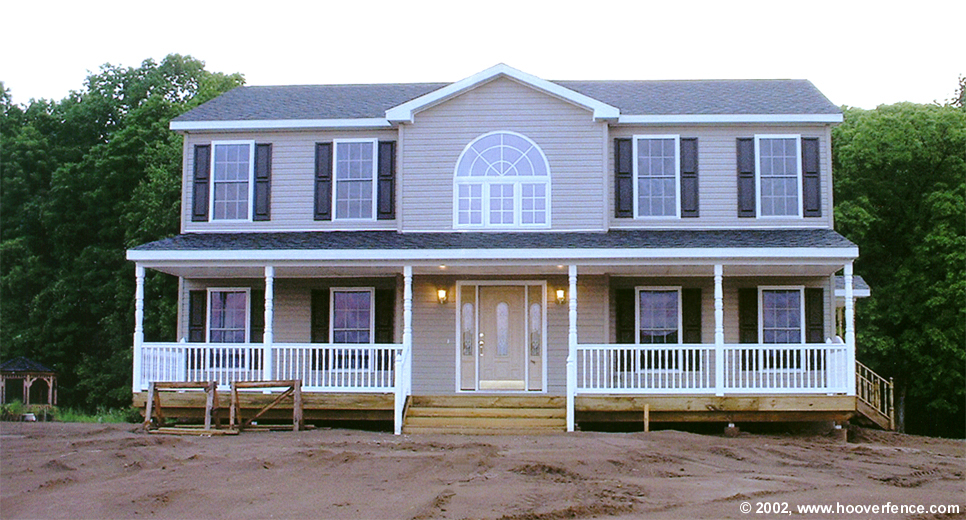
Editor's Comments: This job consists of 3' high Olympia Railing with "T" top rails and Spindles (Sorry, this picket style has been discontinued, current choices are square pickets or balusters). It also has Raised Panel Porch Posts. The Spindles compliment the Raised Panel Porch Posts with similar rectangular appearances. Although the pictures don't show it, Stair Railing will be the used to finish the job. Looks great and would like to see pictures of the job when it is completed. Thanks for the fine pictures Sean! - Hoover Fence Co.
Sean P. of Warren, MI
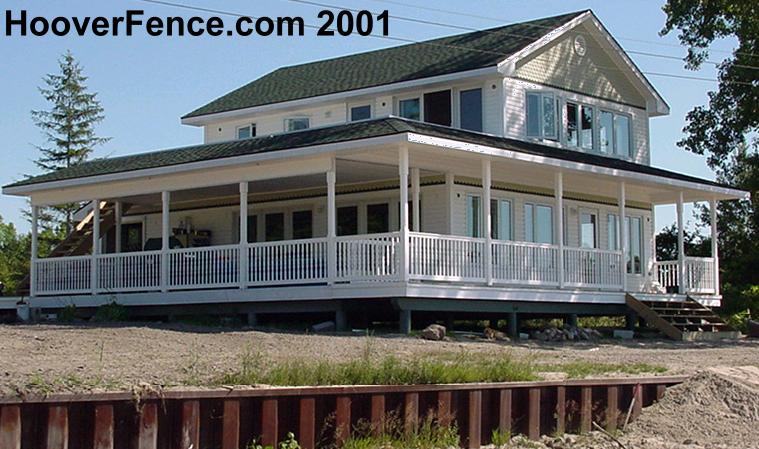
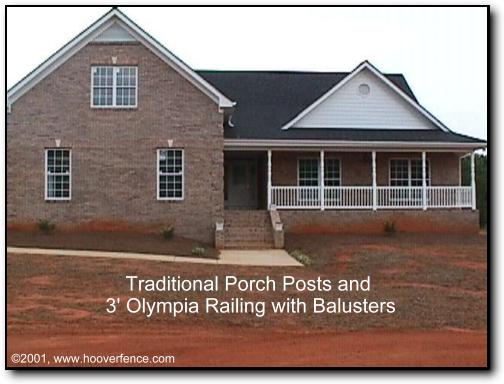
Erik, The installation was very easy, my wife and I, put up the columns in one afternoon. The hand rail was a little more difficult, because I cut out the columns where the rails would fit inside the columns, rather than have the brackets and screws visible. Even with this it only took about 3 to 4 hours to complete. I would suggest to anyone that plans to install this system, to have the holes routed in the columns before starting. This would only require, knowing how far from the floor the bottom rail should be, and the distance between the bottom and top rail to cut all of the holes in advance. Also the columns would have to be marked as to, end column and corner. The only thing that would need to be done to install, would be trim the rails to the proper length, then slide everything together. This would make the installation very easy. The only thing that made my job difficult was, I had the columns in place before I decided to insert the rails into the columns, so I had to take the columns back down, cut the holes, and reinstall. I always do things the hard way! Nothing like an education, no matter how you get it! -
Mike C. - Jonesboro, GA ...
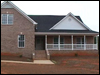
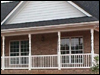
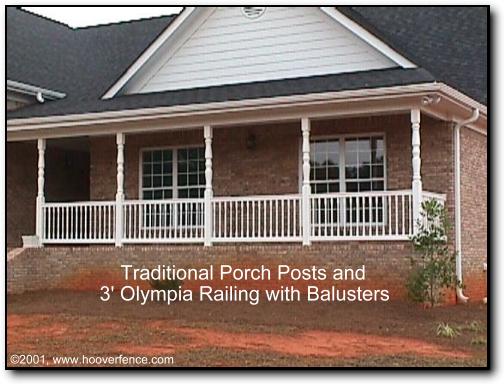
Editor's Comments: This job consists of 3' high Olympia Railing with "T" top rails and Balusters. It also has Traditional Porch Posts. Nice touch, routing the porch posts so that the railing sections slide right in! Great photos and thanks for the advice. - Hoover Fence Co.
Mike C. - Jonesboro, GA ...
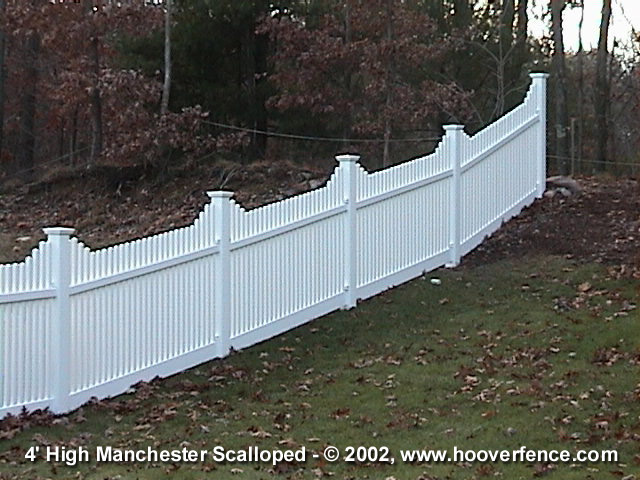
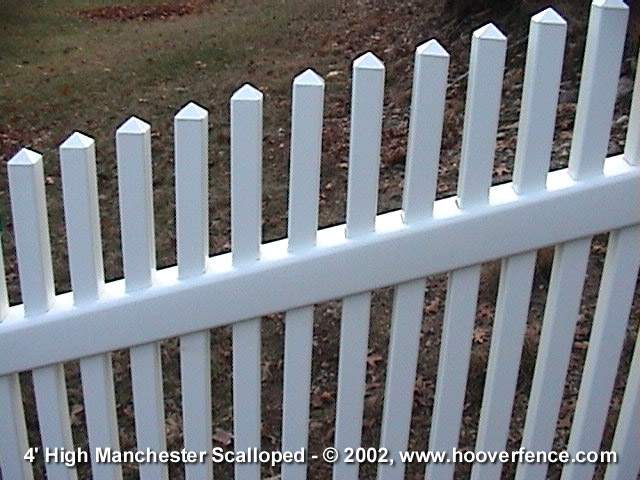
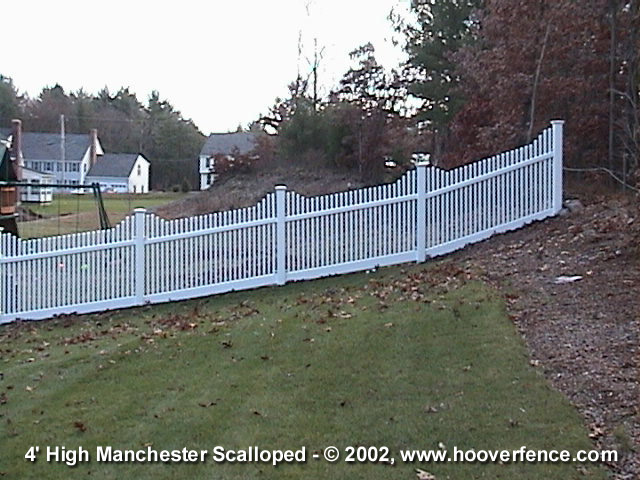
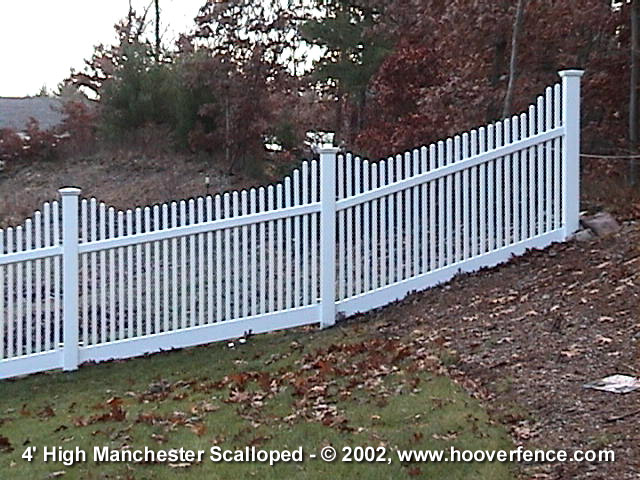
Hi Folks: Here are a few pics of the early going. What you are looking at is the "fence within a fence" meaning, this corner will tie back into the screen porch so we have a "dedicated" dog drop area. The fence will continue to the side lot line and then to the rear lot line. So far this has gone extremely well ...instructions on paper as well as from you guys have been very clear and concise. As you can see, I have hung my first of four gates...no issues, hinge adjustment allowed me to make-up my "near" measurements on the gate construction. I have actually made two of the gates, first one was a little time consuming...you know, measure twenty times, cut five...for future reference with this particular fence, Manchester Scallop, in order to achieve proper picket pacing between gate rails, allow for 13 pickets in the gate itself. Although my target was 50" overall, this created a gate about 49 5/8" which the hinges allow for...Just another simple tip...when cutting the long pickets to length, the cut pieces make great spacers between post and first picket when aligning rails within the posts...I invested $70 for a laser level and $30 for a rotating base...invaluable in shooting grades/lines. I placed the level in the center of my work area and shot lines 360 degrees...what a time saver...Thanx again for your help, more pics as I progress.
Curt L .of North Attleboro, MA ...

Editor's Comments: Looks like it's coming along fine Curt. Thanks for the tips, which I'm sure other customers will appreciate. Great photos and I look forward to seeing the finished project. - Hoover Fence Co.
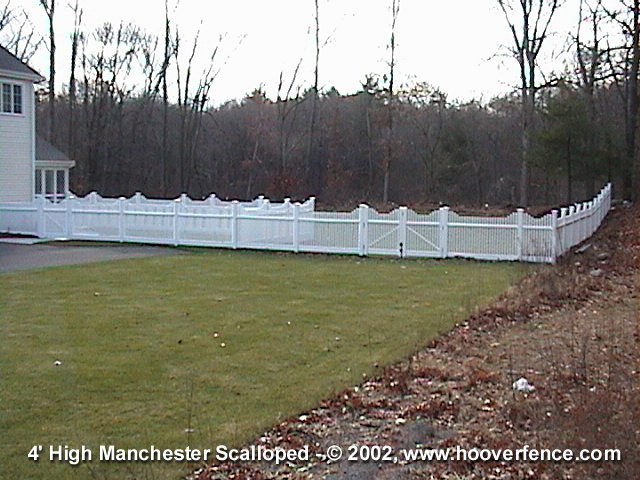
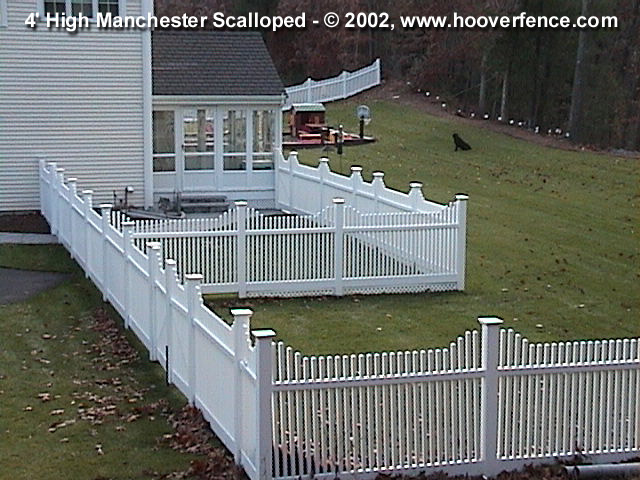

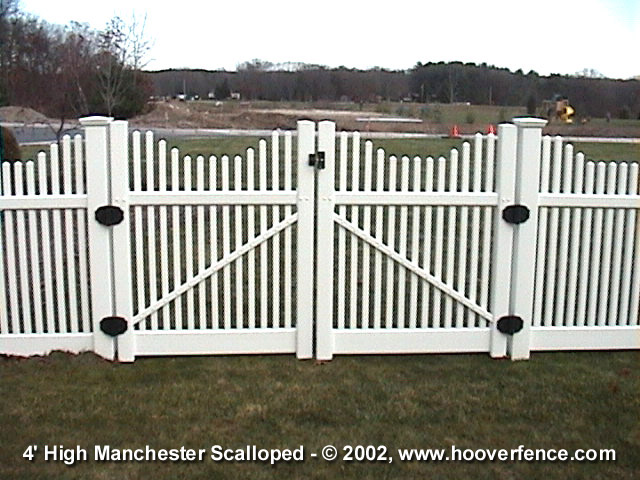
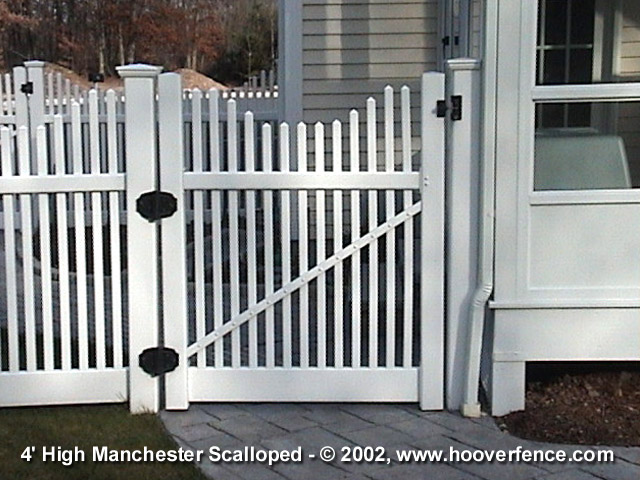
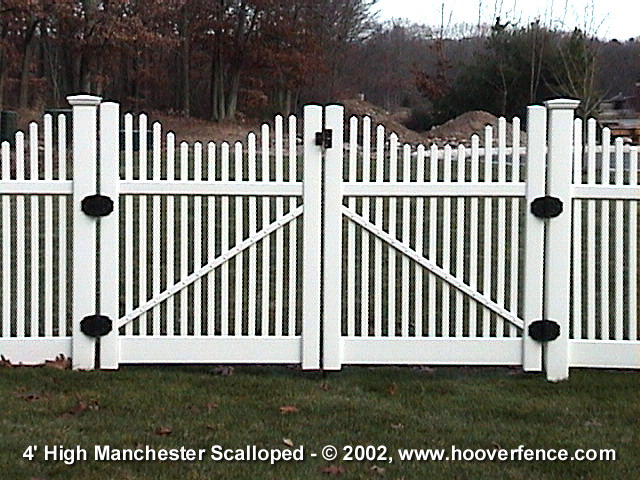

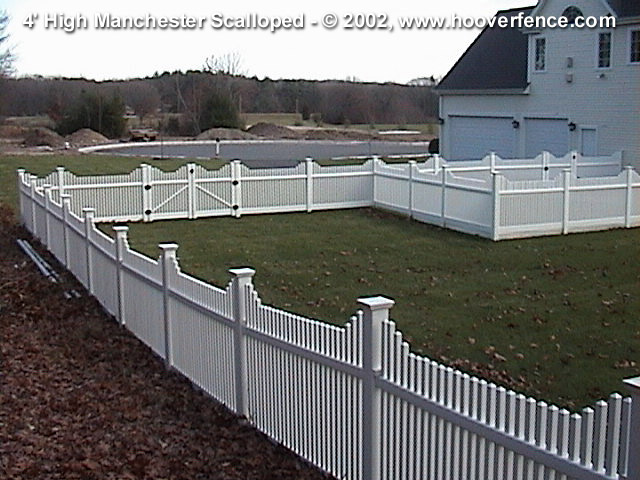
Curt L .of North Attleboro, MA ...

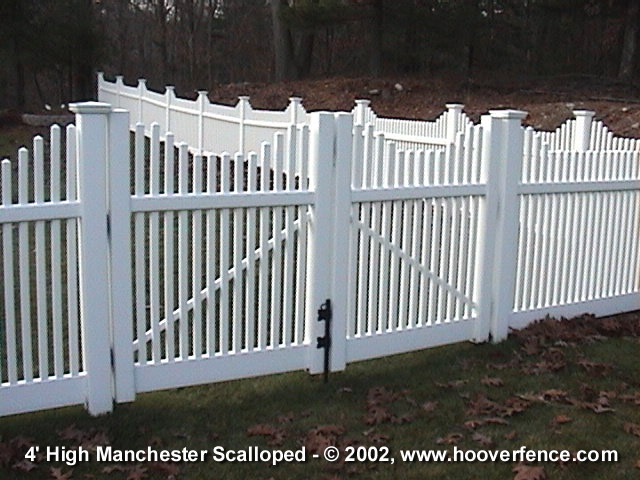
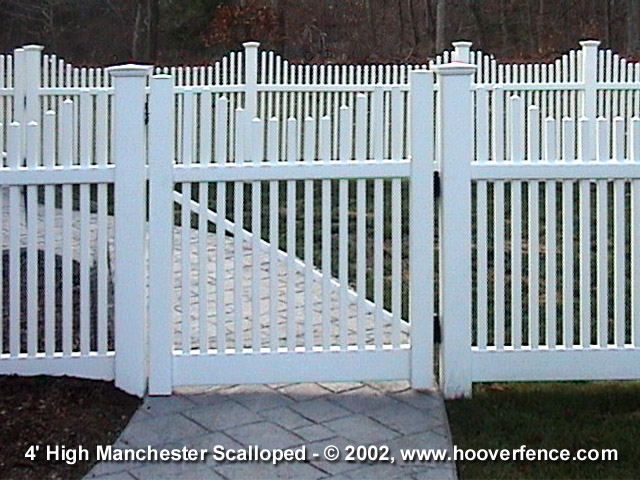
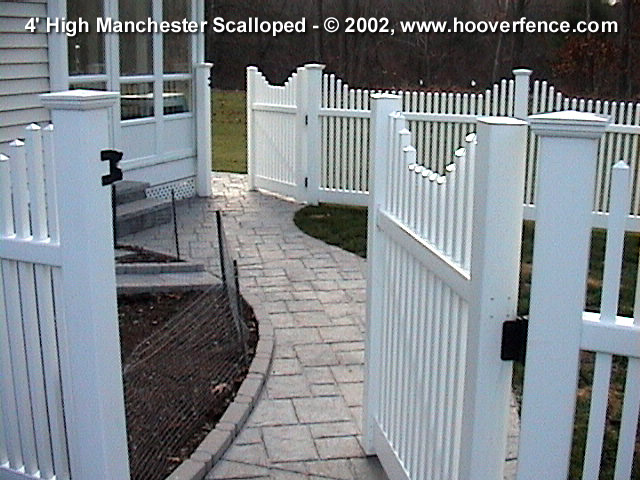
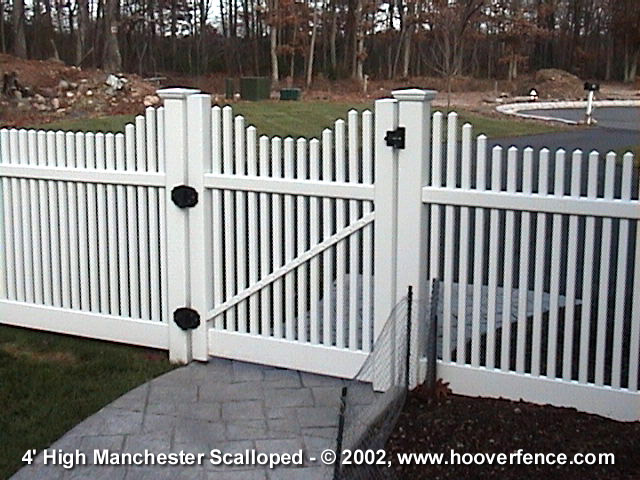
Finished Product:
Hi Folks, I am very near completion of my fence project and realized I am one post cap shy...I was wondering if you are still offering the $20 for photos of projects? I did notice that you posted the early stages of my project on the website, but the photos really don't do the product or the project justice. I have installed all 55 posts, with just a double gate install remaining (2 singles, one double already completed). If you are still offering the $20, rather than the $20, here is my proposition...I will send you photos of the project, much better than my originals, in exchange for one New England 5x5 cap..interested? Either way, I will send you the photos...I am thrilled with the product, your ongoing service and support (we had quite a few email discussions during the project) and the website helped me immensely. I am raking approximately 40-50 degrees in the last section which has required me to route ALL holes, both post and top/bottom rails, my Rotozip has proved invaluable during this phase. Also, without the Nu Boston Digger, this project would have taken much longer... Again, thank you for great products, great service and great pricing too!!
Thanx,
CWL
Hoover Fence Co. Reply:
Curt, Who do I look like? Don Pardo of "Let's Make A Deal"? Seriously, I think we can do that. Send us some pictures, either the hard copies or digital versions, and we'll get a 5"x 5" New England Cap, white, sent out. We're specifically interested in pictures of the gates, both the single and double. It sounds like it was a big project. If your finished pictures are as well done as the few you sent previously, I think we'll both be proud to show them off!
Thanks,
Erik Hoover
Vice President
More Customer's Comments:
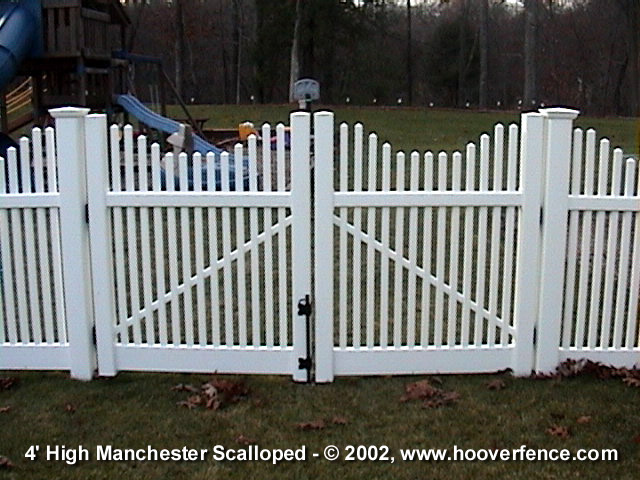
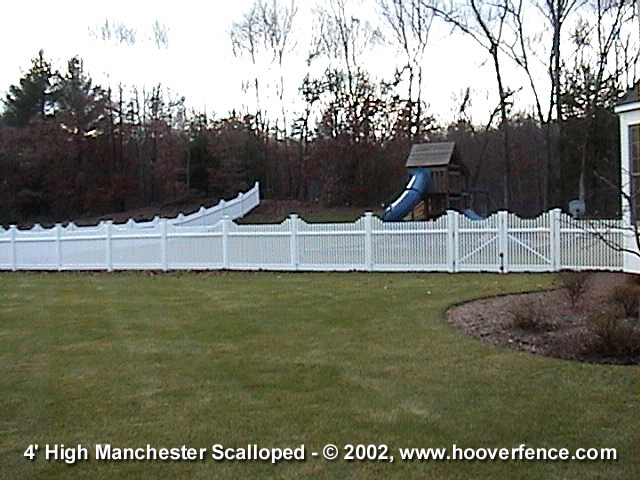
Greetings Mr. Pardo...I mean Mr. Hoover, As promised here are a few (quite a few) shots of the completed project...I had to wait for the three weeks of rain to subside. If there are angles, views, etc. that you want, let me know. With a digital camera, this is fairly effortless... FYI: the enclosure off of the porch is designed as the "doggie business" area...works great. Thanx again for accepting my offer and you are correct, I am "mighty proud" of my weekend warrior effort and would be very pleased to have photos posted!
Curt L.
North Attleboro, MA.
Editor's Comments:
Wow, I'm impressed. Quite a lot of work but obviously nothing you couldn't handle. Thanks again for all the great photos, you'll be seeing a check in the mail. Hoover Fence Co.
Good morning Hoover Fence,
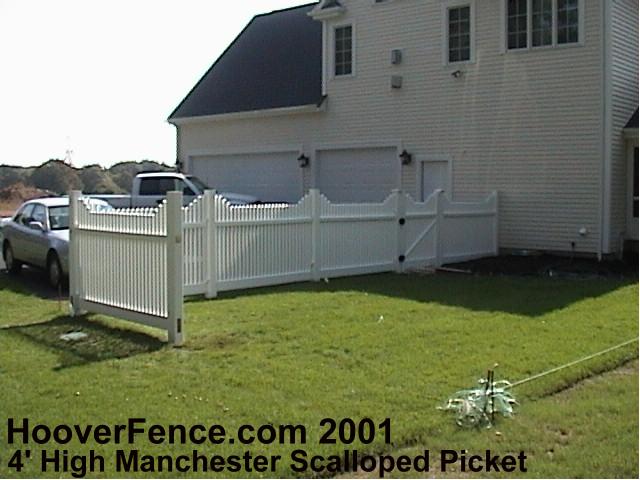
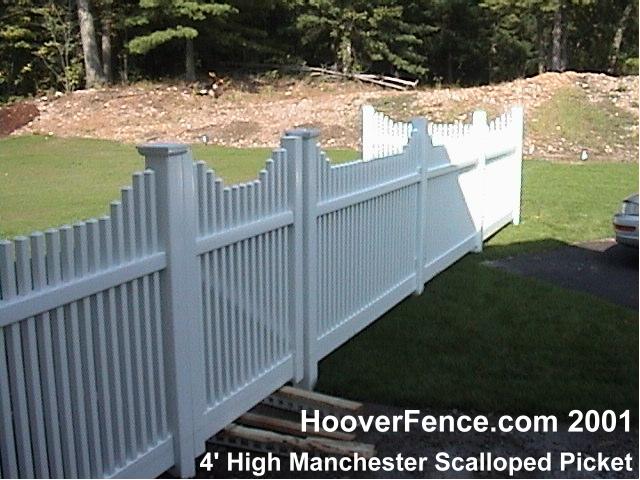
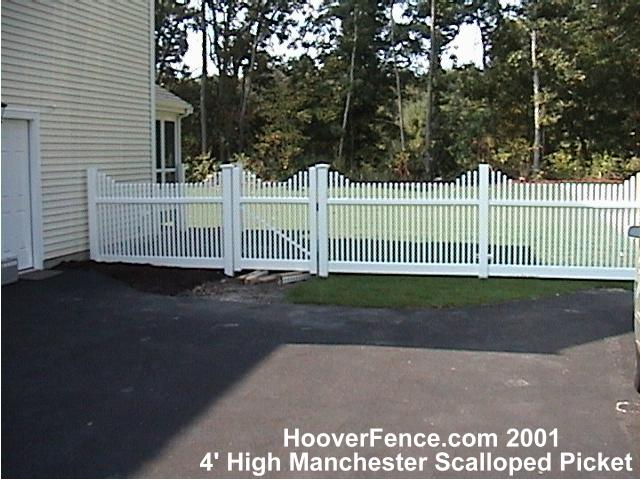
I apologize for not writing sooner, but time seems to slip by without notice. The fence is up and complete and has been for a couple months. I am writing to thank you for your efficient, professional way you handled my order. Everything I ordered was delivered complete, undamaged and packaged in a way that expedited the building phase.
Erecting the fence was a family affair. Five of us (sons and grand children) had the privacy fence up and posts set for the picket fence in a weekend. It took me, by myself, over two weeks to complete the project mostly after work and week ends. We followed your instructions with a couple of exceptions. We assembled the privacy fence on the ground, then lifted it into the hole, snapped it into the last post and poured cement. Also there were several holes less than 30" deep.
The fence looks great. As a matter of fact its elegance exceeds the neighborhood norm. That's OK, I'll keep it. We have also received many compliments from our neighbors and others who checked it out. To compliment my beautiful fence, I'm planning on an arch with the Norfolk privacy fence on each side to cover a 15' space that leads into my back yard. Not right away, but soon. I'll try to get a couple photos to you along with my thanks.
Duane L., Imperial California
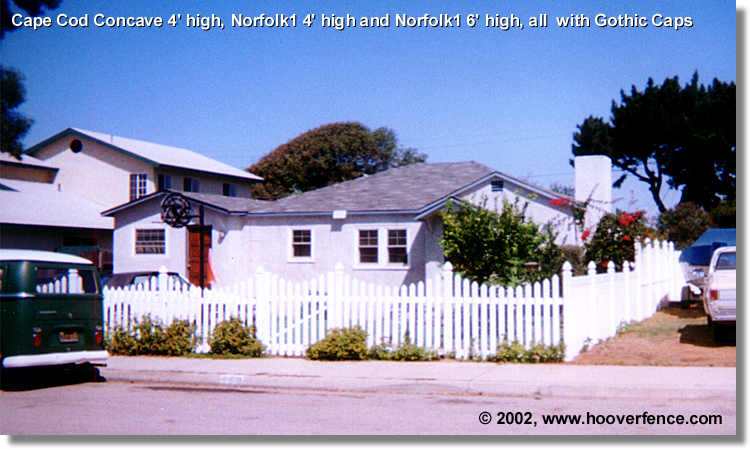
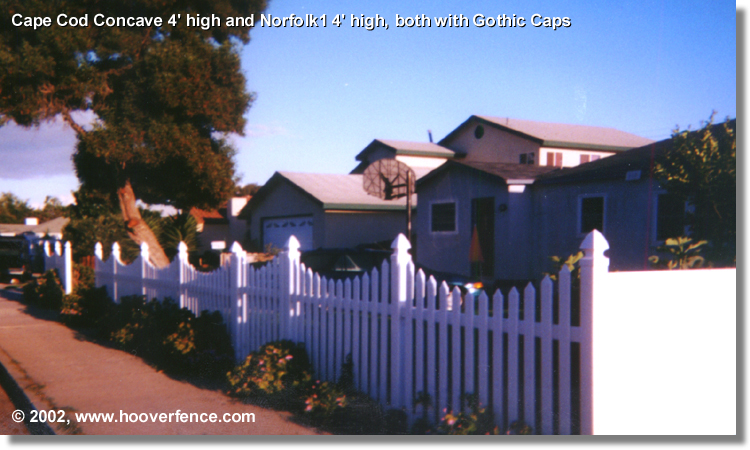
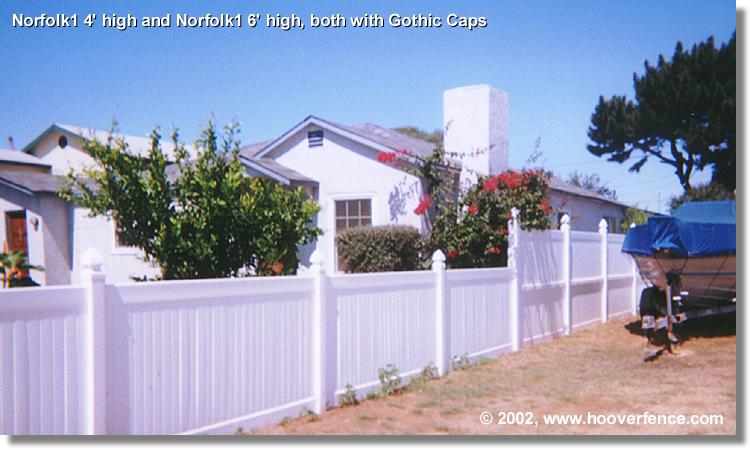
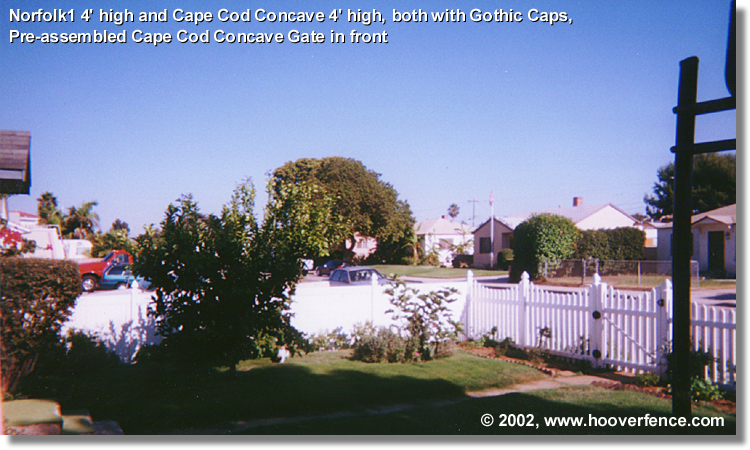
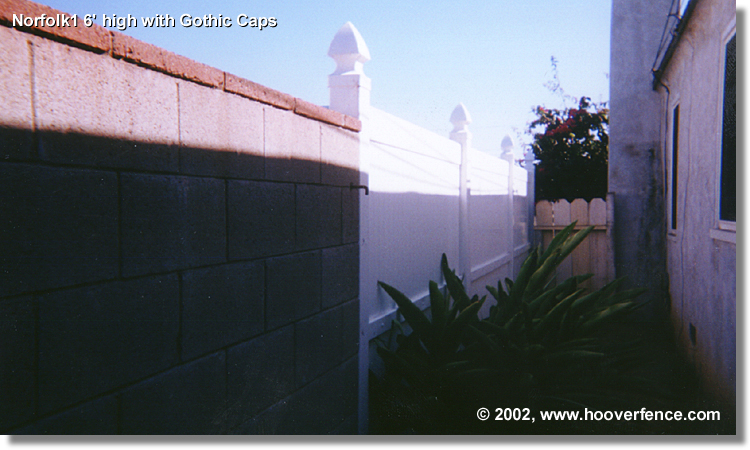

Editor's Comments: This job had 3 different transitions from 4' high Cape Cod Concave to 4' high Norfolk1 to 6' high Norfolk1. It involved special routed posts for the adjoining styles. The matching of different styles achieved the objective of having a decorative fence in the front yard and having privacy fence for the rest. Looks like the "family affair" approach worked out fine. Job really looks good. Thanks for the pictures Duane! - Hoover Fence Company
Erecting the fence was a family affair. Five of us (sons and grand children) had the privacy fence up and posts set for the picket fence in a weekend. It took me, by myself, over two weeks to complete the project mostly after work and week ends. We followed your instructions with a couple of exceptions. We assembled the privacy fence on the ground, then lifted it into the hole, snapped it into the last post and poured cement. Also there were several holes less than 30" deep.
The fence looks great. As a matter of fact its elegance exceeds the neighborhood norm. That's OK, I'll keep it. We have also received many compliments from our neighbors and others who checked it out. To compliment my beautiful fence, I'm planning on an arch with the Norfolk privacy fence on each side to cover a 15' space that leads into my back yard. Not right away, but soon. I'll try to get a couple photos to you along with my thanks.
Duane L., Imperial California
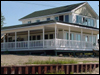
My husband and I are extremely pleased with both your service and product. The railing is a wonderful asset to our new home. We have had many compliments and inquiries from people in the area building homes. We have recommended your product and hopefully you will benefit from it. Our purchase experience: EXCELLENT! Thank you again, Michelle A. P.S. If you would like any additional photos (once we have grass planted) please give us a call.
Vincent and Michelle A. - Glasco, NY Editor's Comments: Nice job Vincent. Glad to hear you and your wife Michelle get so many compliments on your railing and porch posts. Thanks for the recommendations, always can use more business. Our goal is to have 100% satisfaction from all our customers. Sure, send us some pictures when your grass is in. I'll add them later. Thanks for the pictures Vincent and Michelle! - Hoover Fence Company
It says on some paperwork that we rec'd with our order that if we sent you pictures of our fence after it was installed we would receive $20. Attached are 2 pics of our new pool and fence that we installed around it. The fence was very easy to install and looks great (as the pics will attest!) You should also notice that some posts were turned into lamp posts! Thanks so much for you and your company and everything that you all did to make our backyard this beautiful!! Our 4 boys are enjoying it almost as much as we are!! Much success to you and your company!!
Sincerely,
Cheryl & Dennis Z.
Broken Arrow, OK
Editor's Comments: What a beautiful pool area! Makes me want one bad. You did a great job with the layout. I really like the look of the gothic caps and lamps. I bet it looks even more impressive at night. Glad we could help you with this project. Thanks again for the pictures Dennis! - Hoover Fence Company
Sincerely,
Cheryl & Dennis Z.
Broken Arrow, OK
August 5, 2002
Thank you very much for your prompt reply to my questions. Everyone I have contacted at Hoover Fence Co. seems to be very interested in helping customers, even with very small orders like mine. I will definitely recommend Hoover Fence Co. to others who need a dependable supplier for their fencing materials and supplies. It is nice to find an honest dependable company, especially on the Internet.
May you also have a great day.
Robert K.
Waco, Texas
September 3, 2002
I just wanted to thank you. I am a Maintenance Worker Supervisor at the Federal Prison in Pekin, Illinois. I am currently involved in a large fence project involving the installation of 12 feet security fencing. On my crew I have inmates from various work background and most have no fencing experience. I went on to your web site and printed quite a few of your fence installation tutorials and made a booklet that I keep in my shop. My inmates study this material to familiarize themselves with fence installation and just the general terms such as the difference between a brace and tension band. I cannot thank you enough for the use of your web site for this purpose and the service I received when I purchased items from you for this project. Thanks again for your great web site and quality products.
Sincerely,
John Brewer, Maint. Worker Supervisor
FCI Pekin, Illinois