1-800-355-2335 |
Mon-Fri: 7:30am - 4pm EST |
Contact Us

Vinyl Fence
Read More: Vinyl Fence System Overview
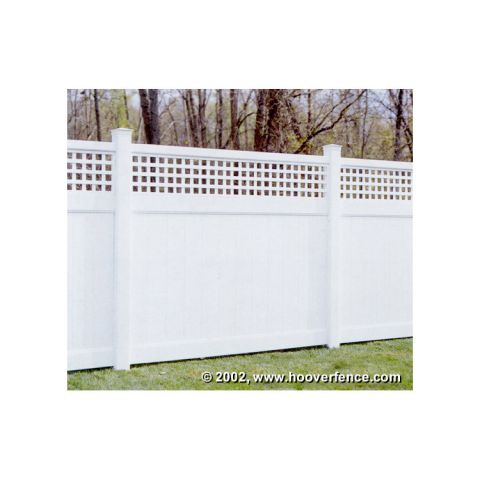
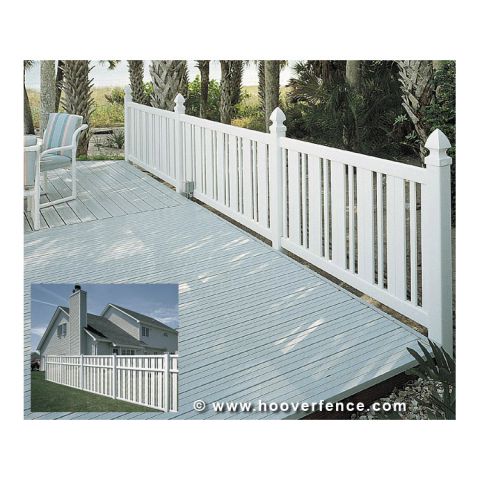
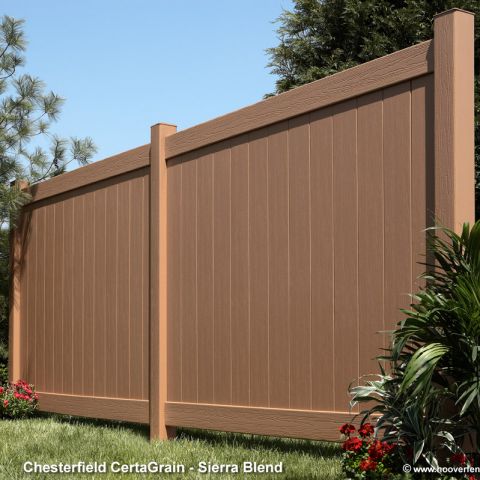
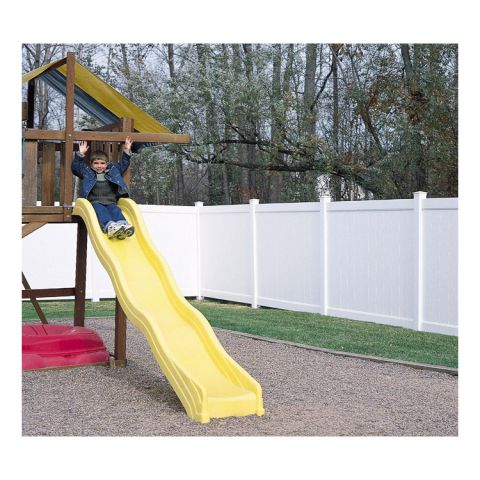
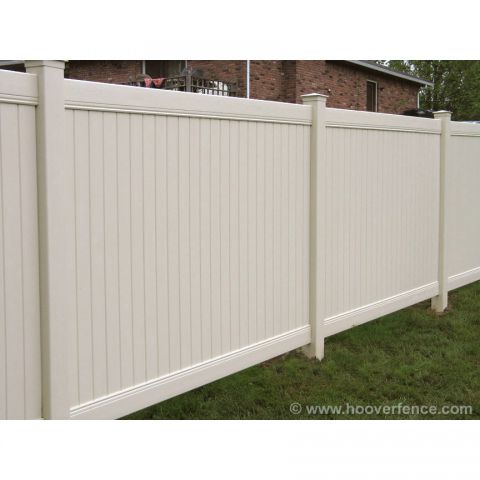
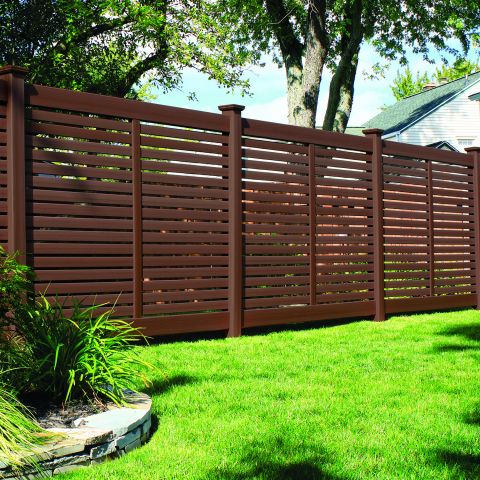
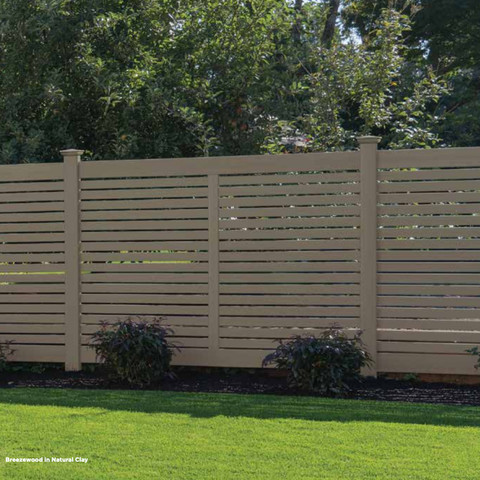
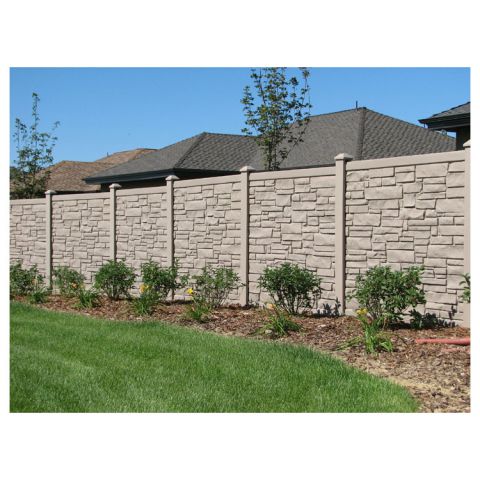
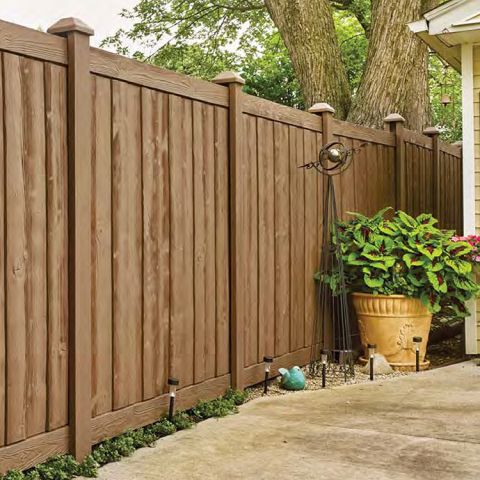
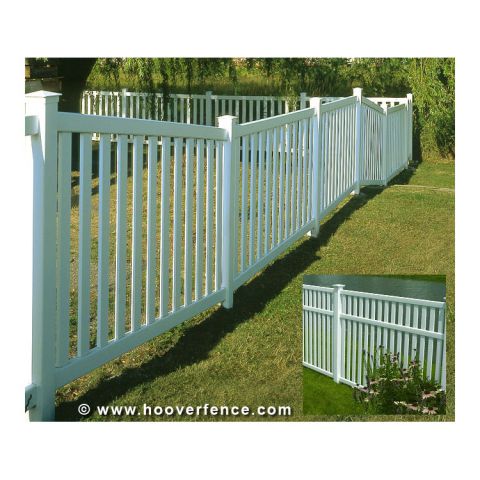
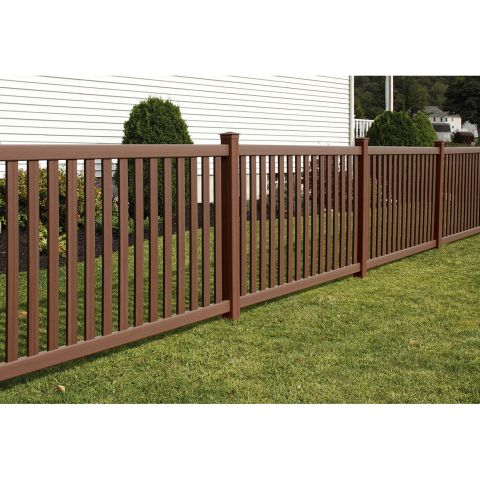
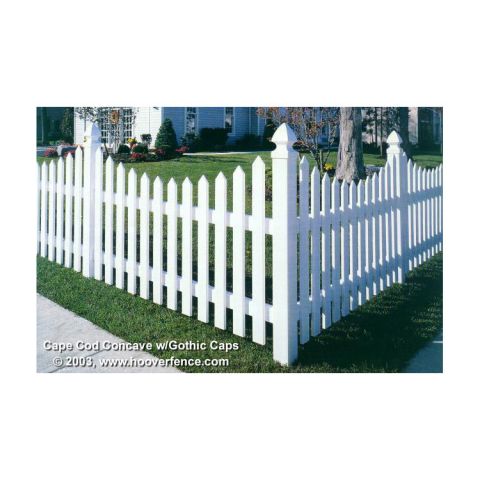
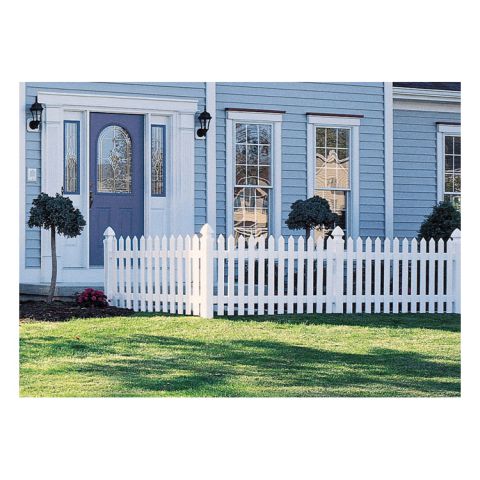
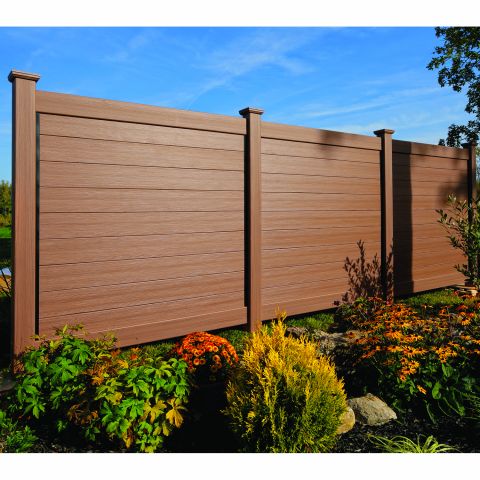
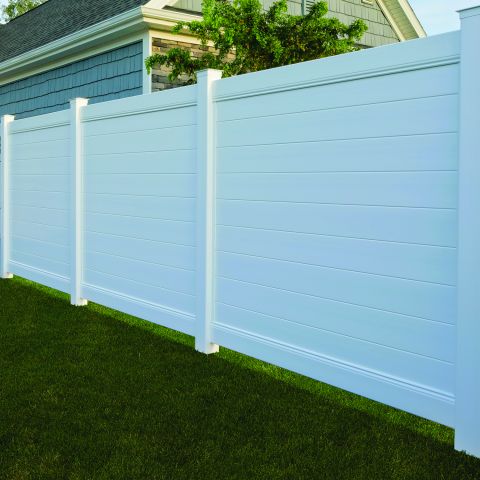
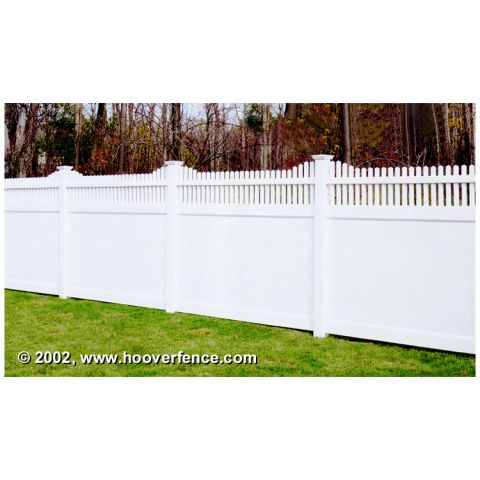
Vinyl Fence is a very popular alternative to wood fencing because vinyl doesn't require any painting or staining. It will not rot, warp, or splinter. Vinyl fence will keep its good looks for years longer than wood fence without any maintenance. We offer over 50 styles of fence in many colors and finishes, to fit all your project needs and to match all color schemes.
We are proud to offer vinyl fence from Bufftech, who are amongst the industries top manufacturers.
Styles available include Picket, Privacy, Post and Rail, and Stone Look Privacy Fence.
$305.54 - $336.67
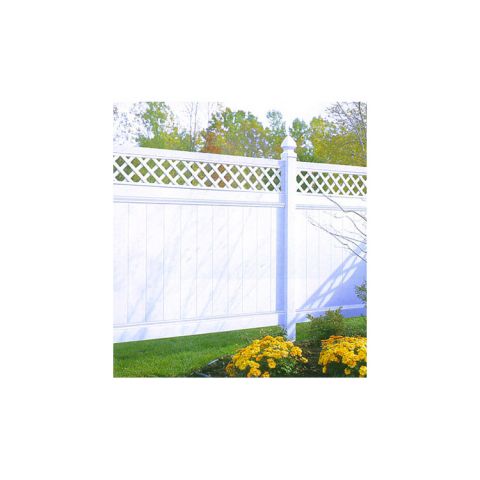
BufftechChesterfield Vinyl Fence Panels - Huntington Accent
#CHESTERFIELD-HA-S
View More
$251.03 - $319.14
BufftechChesterfield Vinyl Fence Panels - Lattice Accent
#CHESTERFIELD-LA-S
View More
$771.10 - $848.93
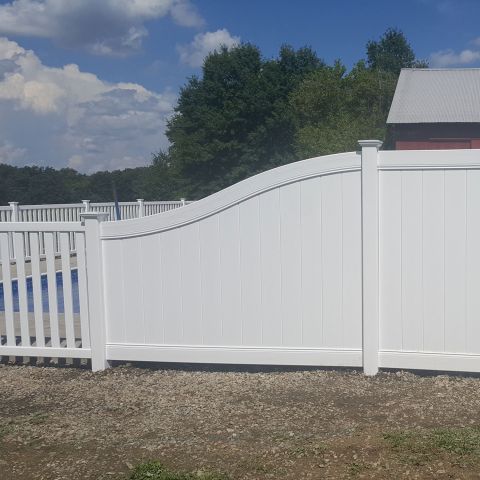
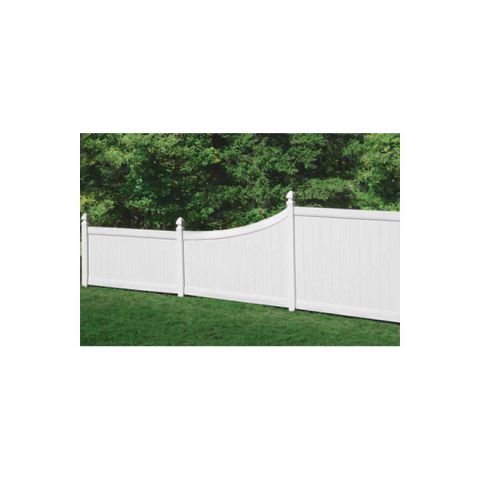
BufftechChesterfield Vinyl Fence Panels - S-Curve Top Rail
#CHESTERFIELD-SC-S
View More
$671.36 - $739.47
BufftechChesterfield Vinyl Fence Panels - Swoop Top Rail
#CHESTERFIELD-SW-S
View More

$247.14 - $272.44
BufftechChesterfield Vinyl Fence Panels - Victorian Accent
#CHESTERFIELD-VA-S
View More