
How to Install Vinyl Porch Posts
Shop: Railing & Decking
Read More: Porch Post Installation Manual (PDF)
PARTS LIST:
- 1 - Porch Post
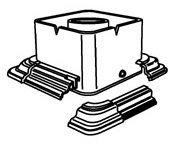
- 2 - Plates (top & bottom are the same)
- 8 - #10 x 1-1/2" Wood screws
- 4 - #10 x 1-1/2" Tapcon™ screws
Step #1
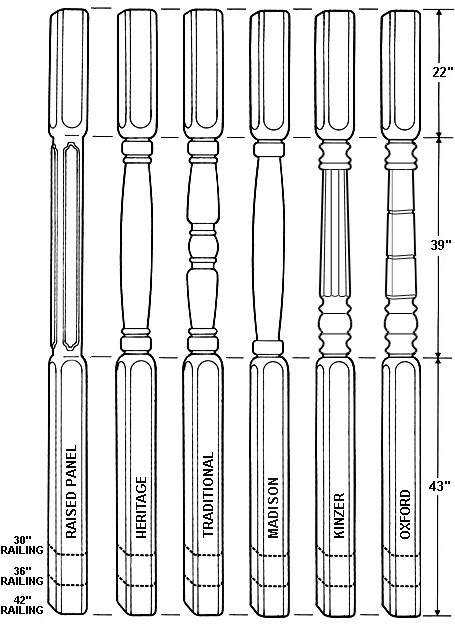
Measure opening where post is to be installed. Deduct 3/8" from your measurement for the plates, to determine your post length.
NOTE:
For 42" Railing don't cut any off the bottom, just the top of the post.
For 36" Railing don't cut off more than 6" at bottom, then balance off the top.
For 30" Railing don't cut off more than 12" at bottom then balance off the top.
IMPORTANT!!!
When cutting bottom of post make sure your cut is the same pitch as slope of the base! Use chop (mitre) saw with a carbide tipped multi-purpose blade.
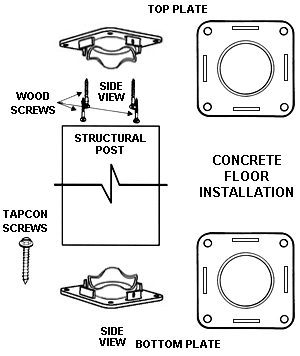
Step #2 - Structural Post - Wood Floor or Concrete Installation:
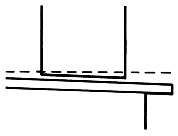
1. Raise roof enough to remove old supports (1/16"-1/8").
2. Position top and bottom plate onto post.
3. Slide post into position.
4. Rotate post to reveal holes in post plates.
5. Install bottom plate using (4) #10 x 1-1/2" wood screws (included) for wood floor or (4) #10 x 1- 1/2" Tapcon™ screws (included) for concrete floor.
6. Install the top plate using (4) #10 x 1-1/2" wood screws (included).
7. After installation of plates, rotate post back into proper position. There is no need to screw post to plates unless uplift support is needed (See Optional Step 3).
At this time the old posts or supports that were supporting your roof can be removed placing all the weight on your new structural vinyl porch posts
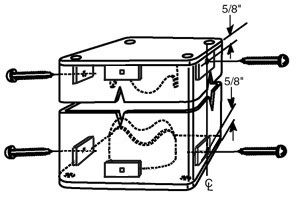
Optional Step #3 - Uplift Storm Support Instructions:
This procedure is not necessary for normal application of porch posts, only needed in situations such as when hurricane strength winds are anticipated which could raise your roof off of the posts.
1. Drill a 1/8" hole through the post and the tabs on the plate in the middle opposing each other 5/8" from the deck and ceiling.
2. Screw post to plate using #10 x 1-1/2" pan head white screws (not included).
3. Optional modular trim sets can be used to cover screws.
Available for 4" & 5"
Posts for a Finished Look
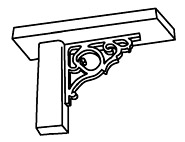
Decorative Trim Adds to
Appearance of Posts